TL;DR
A learning kids’ wall clock uses a clear dial, easy-to-distinguish hands, and sometimes minute or language cues to help children connect clock numbers with passing time. Choose a face your child can read comfortably, then practice in short, everyday moments such as breakfast, getting ready for school, or bedtime.
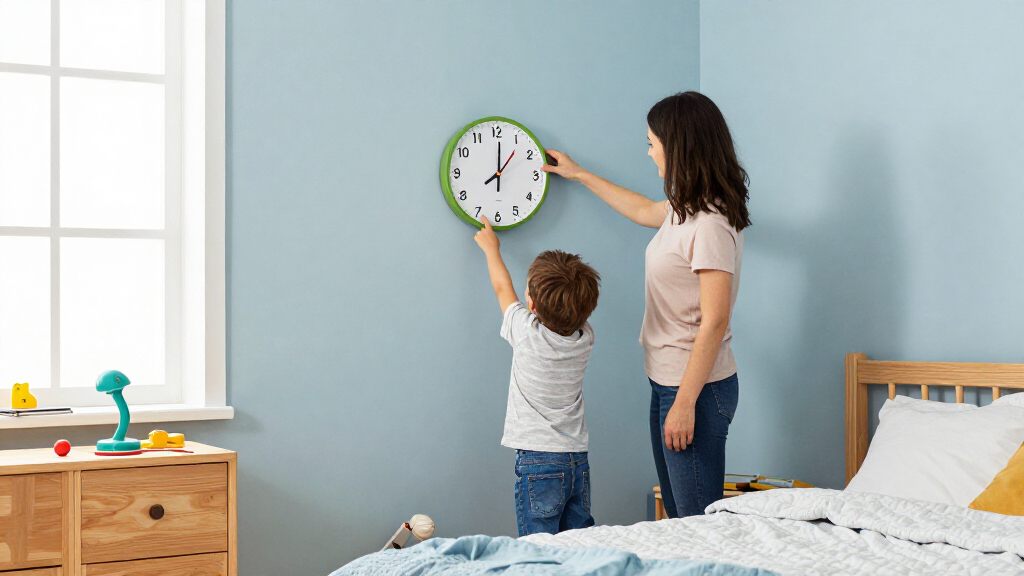
A child can recognize the number 6 on a clock and still be unsure whether it means six o’clock or half past five. That small puzzle is exactly where a learning kids’ wall clock can help: it puts the hands and numbers in view while your family moves through the day.

Get decor and gifts delivered free with Prime
- Fast, free delivery on millions of items
- Prime Video, Amazon Music and more included
- Member-only deals all year
This guide explains what the learning features do, how to choose a dial that feels clear rather than crowded, and how to practice without turning the hallway into a classroom. You’ll also see why an analog clock can complement the digital time your child sees on a tablet or microwave.
The aim isn’t to buy the most decorated clock. It’s to find one your child can read, enjoy, and connect to familiar routines—like the quiet tick before school or the hands pointing toward bedtime.
Start with a high-contrast face, large numerals, and hands that differ in shape or length.
Teach “o’clock” before adding half-hours, quarter-hours, and minute counting.
Use a movable practice clock for lessons and check whether a wall model also keeps time.
Pair analog clock checks with digital displays so your child learns to read both.
Connect brief practice to routines such as breakfast, school departure, and bedtime.
What a learning wall clock teaches at a glance
A learning wall clock is a clock made to help children connect its numbers and hands with the passage of time. It usually has a clear dial, large numerals, and visual cues—such as differently colored hands or minute labels—that make the face easier to read. Some designs also mark “past” and “to,” giving children words to use as they learn.
The face turns an abstract idea into something you can point to together. The short hand shows the hour; the long hand shows the minutes. When you move the minute hand from 12 to 6, your child can see that half an hour passes and notice that the short hand has crept toward the next number.
For example, if the clock shows 7:00 before school, you can point out the hour hand and connect the time to shoes, coats, and the smell of toast. The clock is designed to help children notice how time fits into ordinary events, rather than memorize a face in isolation.
A teaching clock gives you something to point at; your conversation gives the hands their meaning.
That distinction matters. A practice clock may have movable hands but no working mechanism, while a regular wall clock may keep time and add teaching labels. Check which kind you’re looking at before you hang it in a child’s room.
Products Worth Considering

EGO POWER+ LB5302 Cordless Leaf Blower with 2.5Ah Battery

EGO Power+ 21-Inch Cordless Push Lawn Mower with 56V 4.0Ah Battery and Charger (LM2112)

Greenworks 24V Cordless Power Tool 3-Piece Combo Kit (Jig Saw, Circular Saw, Reciprocating Saw) with 4.0Ah Battery & Charger
As an affiliate, we earn on qualifying purchases.
Choose a dial your child can read from across the room
Choose a kids’ wall clock with a high-contrast face, hands that look different in shape or length, and enough room between its markings to read them easily. Children often need a less crowded face when they start; minute numbers and “past/to” labels can help later, but too many marks at once may compete for attention. A clear dial is a practical starting point.
Think about where you’ll hang it. From a bed or classroom table, tiny numerals may blur into a ring of color, while a larger face stays legible. If your child wakes easily, a soft ticking sound that seems charming in the kitchen could become distracting at night. A quiet movement may suit a bedroom better.
Imagine two clocks beside a bedroom bookshelf: one has bold blue hour numbers and plainly different hands; the other packs every minute number and instruction onto a small face. A beginner might read the first more comfortably, while a child already learning quarter-hours may welcome the extra detail on the second.
- For early practice: look for bold numerals and a simple layout.
- For minute counting: consider visible minute marks or labels.
- For mixed ages: favor a readable face with room to grow.
- For restful rooms: check the ticking noise and secure mounting.
Match the features to the child’s current skill, not just their age. Readiness varies, and a familiar “o’clock” may be more useful than a busy face that tries to teach everything at once.
Teach the hands with three short, hands-on steps
To teach a child to read an analog clock, start with the hour hand, add the minute hand, and then practice both together using familiar times. A brief demonstration makes more sense than asking a child to memorize a diagram. If the clock has movable hands, let your child move them while you describe what changes.
- Start with “o’clock.” Point the long hand at 12 and name the short hand’s number. Try 8 o’clock at breakfast, when the family can see the hands before the school rush.
- Add half-hours and quarter-hours. Move the long hand to 6 for half past, then to 3 or 9 for quarter past or quarter to. Say the words as you point.
- Show how the hour hand creeps. Set the clock to 5:30. The short hand sits between 5 and 6, because the hour is changing while the minutes pass.
Keep a small practice moment tied to the room where the clock hangs. At bedtime, you might ask, “Which hand tells us the hour?” and then point out that the next story starts at 8:00. These quick exchanges give the child a reason to look and a real event to remember.
A learning clock supports the lesson, but the explanation comes from you. If a child calls 5:30 “six o’clock,” show where the short hand sits and give them a chance to move it. Calm repetition beats a rapid correction.
Use analog and digital time together
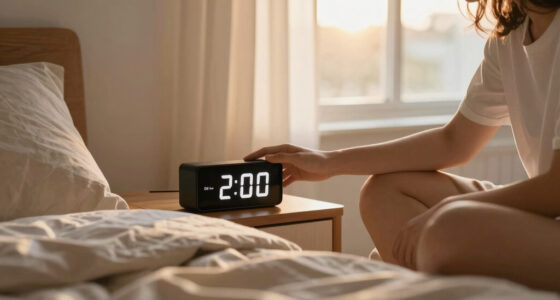
An analog clock shows how minutes and hours fit together, while a digital display gives the exact time in a quick glance. Children benefit from seeing both formats: the numbers on a phone or microwave are common in daily life, and moving hands make the shape of elapsed time easier to discuss. Each format answers a slightly different question.
At 3:30, a digital clock states the time directly. On an analog face, your child can also see the long hand at 6 and the short hand halfway between 3 and 4. That visual gives you a natural way to talk about why “half past three” still has the hour hand near 3.
| Format | What your child sees | Useful moment |
|---|---|---|
| Analog | Hands moving around a dial | Explaining minutes, half-hours, and “past” or “to” |
| Digital | Numerals such as 3:30 | Checking an exact time quickly |
| Both together | Hands and numerals for the same time | Connecting spoken time with written time |
For instance, let your child check the kitchen clock, then compare it with the digital time on the oven before lunch. If the displays differ by a minute, you can focus on what the hands mean instead of treating the small mismatch as a test.
Digital clocks are convenient, but they don’t show a changing slice of an hour in the same visual way. Keep both around; the goal is for your child to recognize the time whether it appears as hands or numerals.
Make daily routines feel like practice, not homework
Use the clock to connect time with events your child already knows, and keep each practice moment short. A wall clock makes that possible because it stays in view; your child can check it on the way to breakfast, while packing a school bag, or before choosing a bedtime story. Small, repeated chances feel lighter than a worksheet.
Try asking, “What time do we leave?” as your child puts on a coat. You can say, “We leave at 8:00. Show me where the hands will be,” and let them look at the clock. Later, ask how much time remains before leaving; if that question feels too hard, give a simple choice such as “Is it closer to 7:30 or 8:00?”
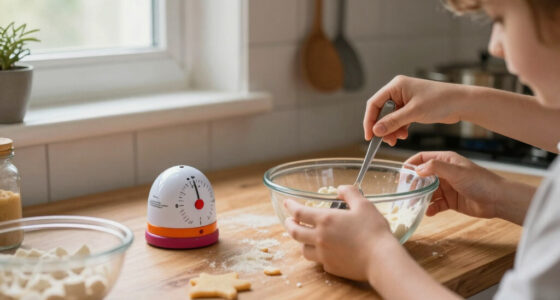
There’s also room for real life. On a rainy Saturday, you might set a timer for 15 minutes of drawing, then compare the timer with the wall clock. The hands show time passing, while the drawing gives those minutes a warm, concrete feeling: pencils scraping across paper, a blue whale taking shape.
- Ask your child to find the time for lunch or a favorite show.
- Give them a small role, such as checking when shoes go on.
- Keep questions encouraging and let them explain their thinking.
If a child gets an answer wrong, return to what the hands show and link it to the event. The clock is a learning aid, not a substitute for patient explanation. Confidence grows when practice ends with a routine they understand.
Match extra features to your child’s next step
Extra features help when they clarify one skill your child is ready to practice. Minute labels can make counting around the dial easier, while “past” and “to” prompts give names to the two halves of the hour. Color-coded hands may help a beginner tell the hour and minutes apart, especially when the colors stand out against the face.
Features can also add clutter. A child who is just learning “o’clock” may get more from four bold landmarks than from every minute printed around the edge. Later, those minute numbers can become useful: your child can trace 5, 10, 15 around the dial instead of counting each mark one by one.
Think of choosing a clock like choosing the right-sized book: a first reader needs clear pictures and a short story, while a more confident reader can handle more detail. For a child who is starting quarter-hours, a “past/to” ring may turn an uncertain guess into a prompt they can follow.
Color should support reading, not carry the whole lesson. A child with color-vision differences, dim room lighting, or a faded clock face may not distinguish two colors reliably. Look for hands with different lengths and clear shapes as well as color.
Product descriptions should also tell you whether a clock keeps time or serves only for practice. A working clock that a child can adjust by hand may lose accuracy; a model with sturdy movable hands may be better for lessons. Choose the detail and function that suit where and how you’ll use it.
Frequently Asked Questions
At what age should a child learn to read an analog clock?
There’s no single right age; children learn at different times, and many meet the basics during the early primary-school years. Start with ideas your child can understand, such as “o’clock,” then add half-hours, quarter-hours, and minutes as they become ready.
What is the difference between the short hand and the long hand?
The short hand shows the hour, and the long hand shows the minutes. As minutes pass, the short hand moves gradually toward the next number, so it may sit between two numbers rather than pointing exactly at one.
Should I buy an analog or digital learning clock?
An analog face is useful for showing how minutes and hours relate, while digital time is handy for reading an exact time quickly. Let your child encounter both, such as checking a wall clock and comparing it with the display on the oven.
Do color-coded hands help children tell time?
They can make the hour and minute hands easier to tell apart, especially at the beginning. Choose hands that also differ in length or shape so the child can read them in dim light or if the colors are hard to distinguish.
Should a kids’ clock have minute labels?
Minute labels can help a beginner count around the dial, but they may make the face feel busy for a child who is still learning “o’clock.” Match the amount of detail to the skill you’re practicing; a simpler face can be a good first step.
Can a learning clock also keep time?
Some models combine teaching labels with a working clock movement, while others are practice clocks with movable hands that do not keep time. Check the product description, especially if you want a clock for the wall as well as a tool for lessons.
Conclusion
Choose a clock your child can read from the place where it will hang, then use it to talk about one familiar moment each day. A calm face and a few patient demonstrations can turn the hands from a puzzle into a useful part of getting dressed, leaving for school, or settling down at night.
Remember the 7:00 breakfast clock: it works because the numbers connect to a real morning. Let the clock keep that small rhythm visible, one gentle tick at a time.