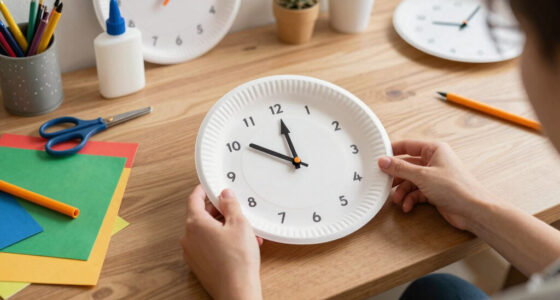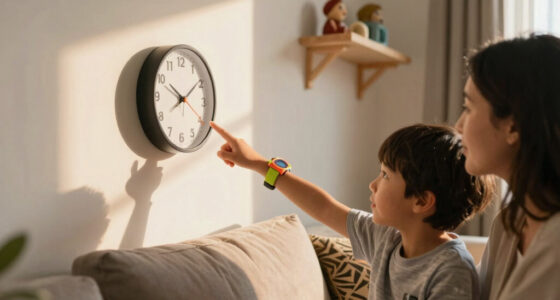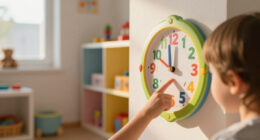

This guide helps you select and install an educational wall clock designed for children. It covers choosing the right clock, preparing the space, and mounting it securely. Suitable for parents, teachers, or caregivers, this task enhances a child’s learning environment and promotes time-telling skills. Follow these steps to ensure proper installation and maximize educational value.
Silent Kids Wall Clock – Non-Ticking, Battery-Powered, 8 Inch
- ✔ Size: 8 inches
- ✔ Power: Battery-operated (1 AA, not included)
- ✔ Movement: Silent sweeping

Oyster&Pop Kids Clock – Silent 10" Analog Learning Wall Clock for Kids
- ✔ Diameter: 10 inches
- ✔ Material: Acrylic face
- ✔ Battery: 1 AA required

Roymnie 8 Inch Kids Learning Wall Clock – Silent, Colorful Teaching Time Clock for Kids Room and Classroom
- ✔ Size: 8 inches
- ✔ Battery: 1 AA (not included)
- ✔ Movement: Silent sweep second hand
Difficulty: Beginner | Time: 30-45 minutes
What You’ll Need
Tools & Materials:
- drill or screwdriver
- level
- measuring tape
- pencil
- ladder or step stool if needed
Knowledge:
- basic understanding of wall mounting
- ability to operate a drill or screwdriver

Lantoo Silent Kids Wall Clock – Non-Ticking, Battery-Powered, Ideal for Teaching Time and Stylish Décor in Any Room - 8 Inch
Colorful And Easy To Read:Colorful numerals and hands wall clock make kids easy to understand and reading, bright...
As an affiliate, we earn on qualifying purchases.
Silent Kids Wall Clock – Non-Ticking, Battery-Powered, 8 Inch
This colorful clock stands out for its silent sweeping movement, ensuring no distracting ticking sounds—ideal for quiet spaces like bedrooms or study areas. Its 8-inch size makes it versatile but slightly limited for larger classrooms. The clear numerals and hands aid in teaching time, and its colorful design makes it appealing for kids. However, it requires a single AA battery (not included), which is a minor inconvenience. Compared to larger clocks, its size may be less impactful for visual learners.
Pros:
- Colorful and easy-to-read numerals and hands
- Silent movement ensures no noise disturbance
- Suitable for various rooms and as a gift
Cons:
- Requires 1 AA battery (not included)
- Limited to 8-inch size
Best for: Parents and teachers seeking a reliable, quiet clock that doubles as decor and educational tool
Not ideal for: Large classrooms or settings requiring bigger, more prominent displays
Bottom line: A well-rounded, silent wall clock perfect for smaller spaces and daily learning.
“A well-rounded, silent wall clock perfect for smaller spaces and daily learning.”

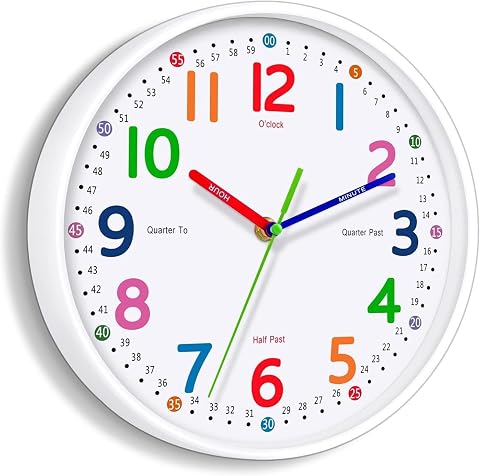
Oyster&Pop Kids Wall Clock - Silent 10" Analog Learning Clock for Classroom
Learn to Tell Time with Confidence - Every minute is numbered and the hour and minute hands are...
As an affiliate, we earn on qualifying purchases.
Oyster&Pop Kids Clock – Silent 10" Analog Learning Wall Clock for Kids
Compared with the smaller, simpler options, this 10-inch clock offers a more engaging visual experience with its colorful rainbow face and labeled minute and quarter marks. Its silent mechanism makes it suitable for classrooms and bedrooms, while the included educational eBook adds value for parents and teachers looking to enhance teaching. However, its larger size might not be suitable for very small spaces, and it still relies on a single AA battery (not included). This clock is best for those who prioritize detailed learning aids over minimalism.
Pros:
- Colorful and engaging design that encourages learning
- Silent operation for a quiet environment
- Includes educational eBook with teaching ideas
Cons:
- Requires one AA battery (not included)
- Limited to analog learning, may not suit digital learners
Best for: Classrooms, homeschooling, or bedrooms where visual learning is prioritized
Not ideal for: Small spaces or digital-focused learners who prefer tech-based timing tools
Bottom line: Ideal for hands-on, visual time learning in educational or cozy settings.
“Ideal for hands-on, visual time learning in educational or cozy settings.”

Roymnie Wall Clock for Kids Learning to Tell Time Easily Non Ticking Battery Operated Kids Teaching Clock Silent Colorful Teaching Time Clock Decorative for Kids Room Classroom School (8 Inch)
1、【Wall Clock for Kids Learning to Tell Time】: The 8 inch wall clock is designed with each hour...
As an affiliate, we earn on qualifying purchases.
Roymnie 8 Inch Kids Learning Wall Clock – Silent, Colorful Teaching Time Clock for Kids Room and Classroom
Compared to the other options, Roymnie’s 8-inch clock emphasizes a vibrant, multicolor face with labeled minutes that helps kids distinguish between different time segments. Its silent sweep second hand makes it suitable for quiet environments, while its durable plastic construction supports frequent handling in busy classrooms or playrooms. The clock is easy to operate and designed for long battery life, but it does require adult supervision for very young children and only displays an analog face, which might limit digital learners.
Pros:
- Colorful design encourages kids to learn to tell time
- Silent movement ensures a quiet environment
- Easy to operate with long-lasting battery life
Cons:
- Battery not included
- May require supervision for young children
- Limited to analog display
Best for: Parents and educators seeking a colorful, durable, and quiet teaching clock
Not ideal for: Children who prefer digital or highly tech-oriented learning tools
Bottom line: A vibrant, durable clock well-suited for active learning spaces needing a splash of color.
“A vibrant, durable clock well-suited for active learning spaces needing a splash of color.”
As an Amazon Associate we earn from qualifying purchases.
Before You Start
Check the wall surface for stability and suitability. Confirm the clock’s mounting hardware matches your wall type. Clear the area around the installation site to prevent accidents. Make sure you have all tools and materials ready.
Step-by-Step Instructions
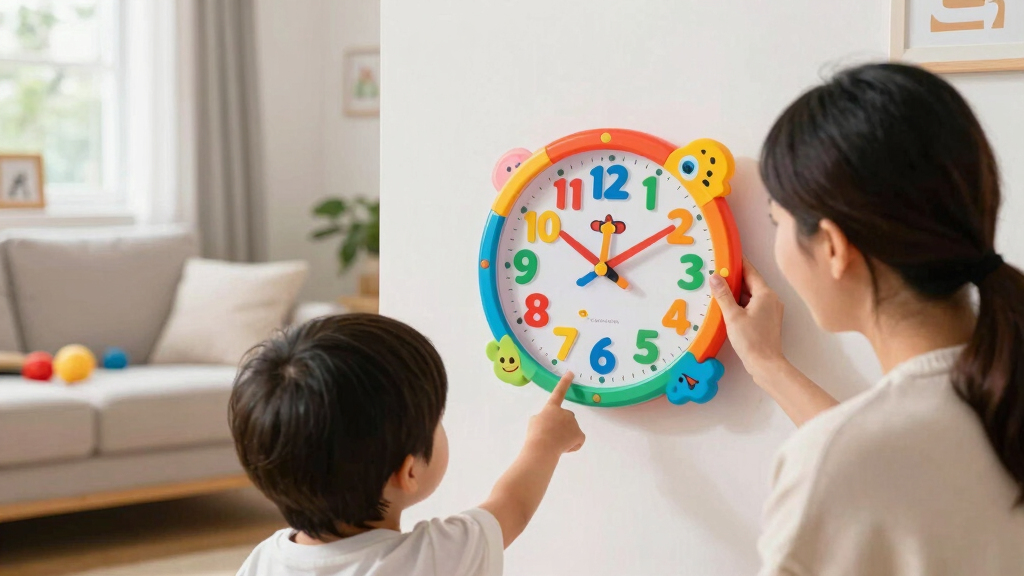
Step 1: Select the appropriate location
Choose a wall at a height accessible to children, avoiding direct sunlight or heat sources. Measure the space to ensure the clock fits well and is clearly visible from different angles.
Tip: Use a tape measure to find a spot at eye level for children, typically 4-5 feet from the ground.
Check: The selected location offers clear visibility and is suitable for mounting the clock without obstructions.
Step 2: Prepare the mounting area
Mark the exact spot where the clock will hang using a pencil. Use a level to draw a straight horizontal line if mounting multiple clocks or aligning with other fixtures.
Tip: Double-check measurements and level lines carefully to ensure a straight, even placement.
Check: The marking is precise, level, and correctly positioned for the clock’s center.
Step 3: Install the mounting hardware
Attach the appropriate wall anchors or hooks based on wall type and clock weight. Drill holes at the marked points, insert anchors if necessary, and secure hooks or screws tightly.
Tip: Use a drill with the correct bit size; avoid overtightening to prevent wall damage.
Check: Hardware is firmly attached, holding the weight of the clock securely.
Step 4: Hang the clock
Place the clock on the installed hooks or screws, ensuring it hangs straight and securely. Adjust if necessary to level the clock visually.
Tip: Use a level on the clock to verify it is perfectly horizontal before finalizing placement.
Check: The clock is level, stable, and hangs securely without wobbling.
Step 5: Test the clock’s visibility and educational features
Check from different angles to confirm the clock is clearly visible and that all educational features (such as labeled numbers, moveable hands, or learning prompts) are properly functioning and accessible to children.
Tip: Encourage a child or another adult to verify ease of viewing and interaction.
Check: The clock is easily readable and educational features are functional and accessible.
Common Mistakes to Avoid
- Mounting the clock too high or too low — Measure and mark at eye level for children, and double-check before drilling.
- Using incompatible hardware for the wall type — Identify the wall material (drywall, brick, wood) and select appropriate anchors or screws.
- Not leveling the clock — Always use a level during placement to ensure the clock hangs straight.
- Over-tightening screws or anchors — Tighten hardware just enough for secure attachment without damaging the wall or hardware.
Troubleshooting
Problem: The clock wobbles or is unstable
Solution: Check if the hooks are firmly secured and that the clock’s hanging hardware is properly engaged. Tighten or replace hardware if needed.
Problem: Clock is not level after hanging
Solution: Remove the clock, adjust the hooks or screws slightly, and re-hang, verifying with a level.
Problem: The clock falls off after mounting
Solution: Ensure the anchors or hooks are suitable for the wall type and that they are securely fastened. Use stronger anchors if necessary.
What Success Looks Like
The clock hangs straight, is securely mounted, at the correct height, and is clearly visible from children’s typical viewing angles. The educational features are functional, and the clock helps children learn to tell time effectively.
Next Steps
Regularly check the clock’s stability and cleanliness. Encourage children to interact with the clock to reinforce learning. Consider adding additional educational clocks or related learning tools as needed.
Frequently Asked Questions
What type of wall hardware is best for heavy educational clocks?
Use wall anchors suitable for your wall material, such as expansion anchors for drywall or masonry anchors for brick. Ensure hardware supports the clock’s weight.
How high should I hang the clock for optimal learning?
Position the clock so that the center is approximately 4 to 5 feet above the floor, at eye level for most children.
Can I install the clock myself, or should I hire a professional?
If you have basic tools and understand wall mounting, you can install it yourself. For heavy or complex clocks, consider hiring a handyman.